
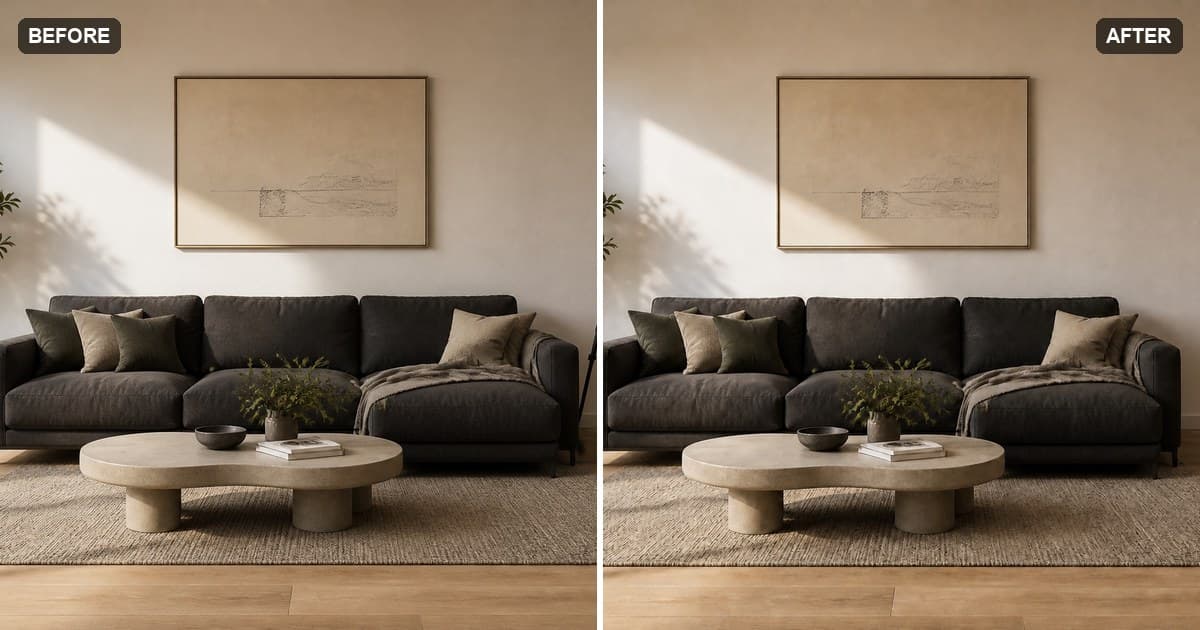
How to Remove an Object from a Photo: A Practical Guide
A tripod in the corner of your living room shot. A trash can photobombing a street scene. A power line cutting across a sunset. Unwanted objects are the difference between a photo you keep and a photo you delete, and removing them no longer requires any editing skill.
This guide covers the full process with less.pictures, a free AI object remover, plus the selection techniques that separate a clean result from an obvious patch job.
What AI object removal actually does
You paint over the object. The AI analyzes the surrounding area: textures, lines, light direction, repeating patterns. Then it generates new content for the painted area that continues the scene naturally. It is not copying a nearby patch; it is reconstructing what should be there.
That distinction matters because it explains both the strengths and the limits. The AI is excellent at continuing consistent backgrounds. It has to work harder when the object covers something unpredictable, like another person's face.
Step 1: Upload and assess
Drop your photo into the cleanup workspace. Before you brush anything, take five seconds to study what is around the object. Nearby lines, textures, and patterns are what the AI will use to rebuild the area, so knowing where they are tells you how careful the selection needs to be.
Step 2: Brush the object, completely
The most common mistake is an under-sized selection. Cover the whole object plus a thin margin of background on every side. The margin is not wasted space; it is the context the AI needs to blend the fill invisibly.
Three things people forget to include:
- Shadows. An object's shadow is part of the object. Leave it and the edit is instantly obvious.
- Reflections. On shiny floors, glass, and water, the reflection has to go too.
- Contact points. Where the object touches the ground or a wall, extend the selection slightly past the contact line.
Step 3: Clean, compare, refine
Run the cleanup and use the compare view to check the result against the original at full zoom. Straight lines are the tell: horizons, door frames, tile grout. If one edge looks wrong, do a second small pass over just that area. Each pass builds on the latest result, so refinements stack cleanly.
Step 4: Download
Export the finished photo as a full-quality PNG with no watermark. Only successful cleanups count against your free use or credits.
Technique by object type
Small clutter (cups, cables, remotes): the easiest case. One pass, done.
Furniture and large objects: the AI has to invent a lot of surface. Work in sections: remove the object in two or three overlapping passes rather than one giant one.
Lines and wires: brush along the wire with a small brush, slightly wider than the wire itself. Long thin selections rebuild very cleanly.
Objects in front of patterns (fences, brick, tiles): keep the selection tight and check the pattern alignment afterward. A second pass fixes most mismatches.
People: everything above applies, plus hair edges need extra care. See the dedicated guide on removing a person from a photo.
When to reshoot instead
AI removal is not always the right call. If the object covers most of the frame, or hides the one detail the photo is about, no tool can invent what was never captured. For everything short of that, a minute of brushing is worth trying first: the attempt costs nothing if it fails.
Frequently asked questions
Does object removal work on any photo? Any JPG, PNG, WebP, or HEIC up to 30 MB. Phone photos work directly, including iPhone HEIC files.
How many objects can I remove from one photo? As many as you want. Remove them one at a time and each cleanup continues from the previous result.
Will anyone be able to tell? On consistent backgrounds, no. On complex scenes, check straight lines and patterns at full zoom before you download, and run a small second pass where needed.
Is it really free? The first successful cleanup on each account is free. After that, successful cleanups cost a few credits. Failed attempts are never charged.
Try it on your own photo: open the free object remover and brush away whatever doesn't belong.